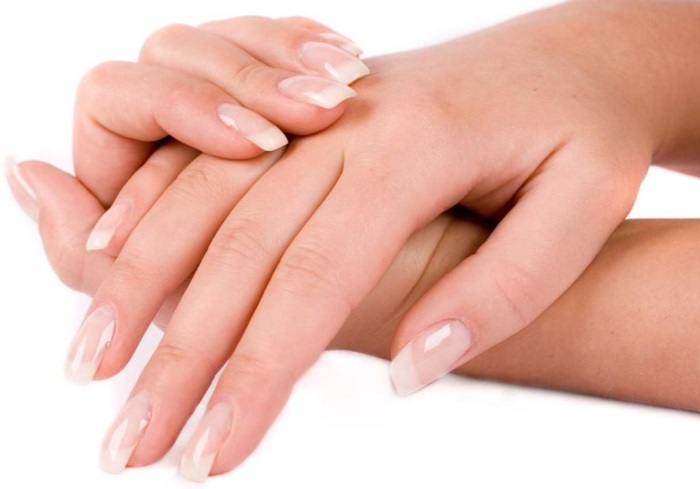
In pursuit of the beauty and durability of her manicure, every girl has heard about biogel for nails (what it is and why - further in the article). It strengthens the nail plate without damaging it, gives a well-groomed look and prevents nail delamination.
Biogel for nails - what is it, why is it needed. Pros and cons. Reviews
Biogel consists of natural ingredients that cannot harm health and cause side effects. The composition may include tree resin, proteins, minerals and vitamins (usually A and E). Due to them, a healing effect is created on the nails, and their growth is also accelerated.
You can use the tool like this:
- Biogel for nails is a product that can be used as a coating that strengthens nails. This use is suitable for nail restoration.
- For nail extension.
- If the gel is modeling, then with the help of it volumetric designs and individual elements of the manicure are created.
The use of biogel in manicure has both pros and cons.
Pros:
- The nail is protected from the environment, traumatic elements, etc.
- Vitamins and minerals in the biogel nourish the nail.
- The cover is breathable and completely natural, which means comfortable wearing and no negative reactions from the body.
- To remove the gel, you do not need to saw off the nail, it will dissolve and come off by itself under the influence of special tools.
- The gel gives the nails a well-groomed look and looks very natural.
- The gel has no unpleasant odor like varnishes.
Minuses:
- The price of the gel exceeds the cost of gel varnish or acrylic due to the high cost of the components included in the composition.
- Natural ingredients are not able to provide the same long wear as acrylics.
Biogel manicure (transparent, colored) - nail extension. Gel nail extension kit. Reviews
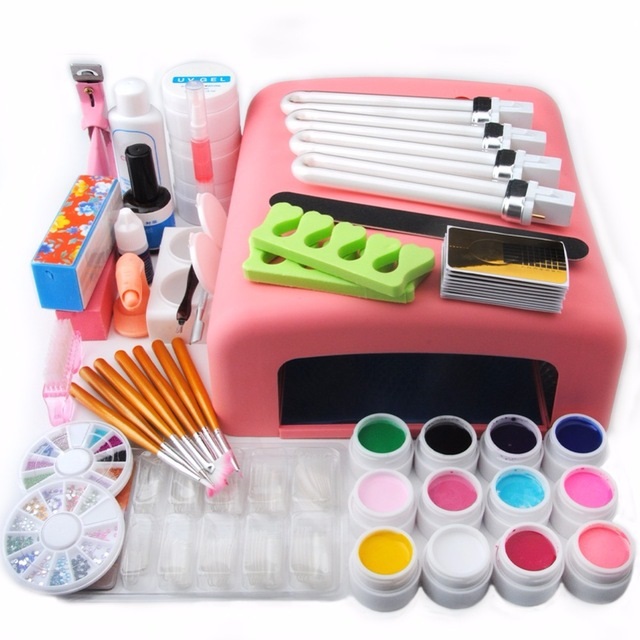
Biogel manicure requires special tools and materials
- Gel lamp. It is with its help that biogel dries and creates a dense coating that a regular varnish will never create.
- Base coat and top... It is the base that ensures the durability of the manicure and protects the nail from the negative effects of varnishes. The top creates a mirror-like and even finish that can hide small blemishes. It also protects against the mechanical effects of various household items.
- Transparent biogel for nails - This is a tool that can solve many problems with nails.
- Degreaser. It removes naturally occurring sebum and any impurities from the surface of the nail. This contributes to better adhesion of the base to the nail.
- Cuticle remover and hand bath. A warm bath will soften your hands, and a cuticle cleaner will help get rid of excess.
- Manicure tools for shaping nails (including nail file and buff). Do not forget to disinfect even your own manicure tools and promptly sharpen or change them, as they become dull and can injure the skin.
- Gel brush. The gel always comes in a jar without a brush. The texture is quite dense, so a medium-width brush is suitable, which will cover about a third of the nail.
The manicure itself is as follows:
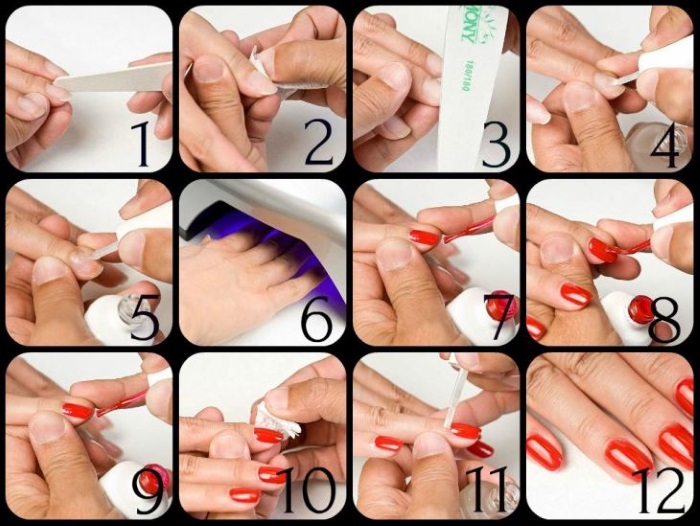
- Wash your hands and pour warm water with salt or oils in a hand bath. First, you should apply a cuticle remover. This will make the effect stronger and easier to work with.
- After 3-5 minutes, wipe your hand with a soft towel and push back the cuticle. Remove the skin adherent to the nail and the regrown cuticle. Avoid cuts and injuries to the skin.
- Shape the nails with a file and polish the nail with a soft buff.
- Degrease the nail with lint-free wipes. This will help the base to set better, and the fibers that remain from ordinary napkins will not interfere with an even coating.
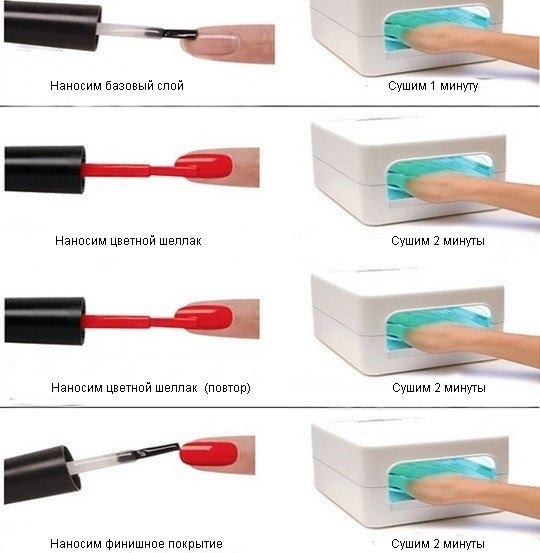
- Cover nails with a thin layer of base coat, slightly stepping back from the cuticle and closing the butt end. This way you can avoid chipping, which always starts at the tip of the nail. Dry the coating for 30 seconds.
- Biogel for nails - what it is, any master knows. A transparent gel is collected on a brush and spread over the entire nail plate. You can lay out the gel in parts, as it is quite thick. Start from the end of the nail and gradually move to the beginning, laying out and smoothing the gel. Dry in a lamp for one minute. For a more dense coverage, repeat the procedure.
- Top will help to complete the manicure. Covering the nail, sealing the edges and side ridges can easily extend the durability and wear time of the manicure. Dry in a lamp for 1 minute. If there is a sticky layer, remove it with a degreaser.
A colored manicure differs from a transparent one by the presence of pigment and design. Such a manicure will take a little longer and require a little imagination.
The tools are the same as for transparent manicure, only biogel should be chosen the desired color.
Colored manicure must be done following some rules:
- First you need to create a basic manicure.
- Having covered the nail with the base, you can start coating with color. Having previously selected a shade of colored biogel, you should evenly paint the nail plate, sealing the side rollers and the butt, which will ensure a long wear. Dry in a lamp for 60 seconds.
- If you want a richer color, you should cover the nail with a second layer. When applying the second layer, you should monitor the evenness of the coating. There should be no bald spots, depressions, unpainted areas at the edge of the nail. Also seal the side bolsters and butt end. Dry for about 60 seconds.
- Optionally - add a drawing on top (it can be done with acrylic paints), monograms (they are created using gel or dense gel polish), sparkles, rubbing, sand, stones (they sit on the top without a sticky layer), etc.
- Cover the finished manicure with a top and dry in a lamp. If there is a sticky layer, remove it with a degreaser.
Don't be discouraged if a natural nail grows slowly and breaks frequently. This problem can be solved by building up with biogel.
After a basic manicure, removing excess skin and cuticles, you can proceed with the extension itself.
You will need the following tools:
- Forms for building. They help to extend the natural length of the nail to the desired length.
- Primer. Disinfects and degreases the nail and improves adhesion to the base.
- Dust brush. When extending the nail, you will need to file it in order to bring the shape to perfection.Dust can interfere in such an important matter and hide flaws that need to be treated.
- Gel lamp.
- Biogel.
- Biogel brush.
- Degreaser.
The building procedure is as follows:
- Prepared nails must be treated with a buff to remove the gloss and improve adhesion to the base. Treat them with a degreaser.
- Next, you should apply a primer, which will ensure long wear of nails, which is important when building.
- The base is applied in a thin layer and cured in a lamp for 30 to 60 seconds.
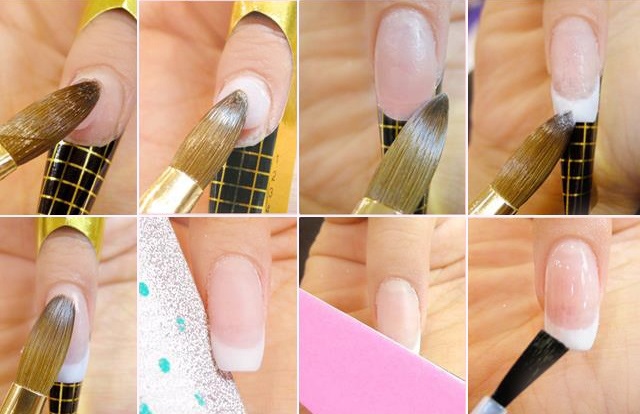
- It's time for forms. They must be properly installed under the nail so that it is convenient to create an extended nail.
- Apply biogel for nails starting from the edge of the nail plate. What it is now is known, so it is necessary to apply skill and distribute the product over the entire nail, creating the desired length. There is a "stress zone" at the junction of the artificial and natural nails. It is in this part that a fracture can occur. To prevent this from happening, the joint zone must be the most dense.
- After applying the first layer, you should dry the nail in the lamp for 1-2 minutes. The very first layer can only cover the joint area and slightly capture the natural nail, creating the desired length. Each layer should align the nail plate and build up the nail with an emphasis on the "stress" area. Each layer is dried in a lamp for a minute.
- After the desired length has been reached and the nail looks even, the molds can be removed. Saw off the nail, bringing it to perfection and giving the desired shape to the butt. If irregularities are found in the joint area or on the plate itself, you can walk the file along the surface and smooth out all the flaws.
- After all the nails are ready, you should decide to continue with the design or leave it as it is. In the latter case, it is enough to cover the nails with a top, sealing the end and side ridges. Dry in a lamp, remove the sticky one.

 Don't miss the most popular column article: How to draw monograms on nails step by step for beginners. Instruction with photo.
Biogel coating of natural nails. How to properly apply biogel for nails at home
Biogel is distinguished by its natural composition and ease of application.
For this you need:
- Pre-treat the nail plate by removing excess skin and cuticle that has grown on the nail. Saw off the nail, giving it the desired shape. Degrease and apply primer.
- You need to apply biogel starting from the edge of the nail, dividing it into three to four parts in your mind. Spread the thick gel in parts at a time, leveling it over the entire surface. With practice, this procedure will be carried out once or twice.
- It is worth listening to yourself and working with the most comfortable brushes. But a medium-sized brush will suit anyone who wants to do their own manicure.
- Having leveled the entire surface, you can send the nail into the lamp, having previously sealed the end and side rollers, since the chips begin from there.
At the end, the nail is covered with a top, dried and also degreased.
Review of biogels of different companies for nails - which is the best. Price. Reviews
To choose the perfect bio gel, you should familiarize yourself with the features of the best products of this type.
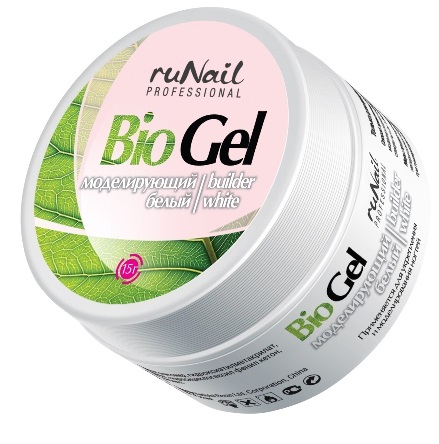
Biogel "Runail"
The price of a regular gel does not exceed 300 rubles. The modeling gel costs up to 500 rubles. An excellent replacement for expensive means of this action.
The gel does its job efficiently and is worn for a long time, protecting the nail and strengthening it. Differs in a thick consistency.
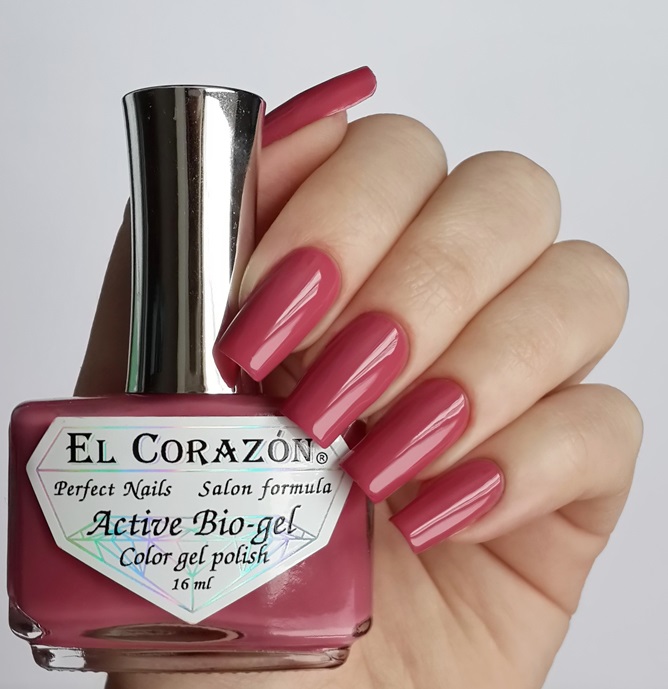
Active biogel "El Corazon"
Many "sing praises" to this biogel, as it is very well applied to the nail, strengthens it for a long time.
Price - 150 rubles. Found in a bottle. For such a budget biogel it has rather high quality indicators. It features a comfortable brush and ease of use.
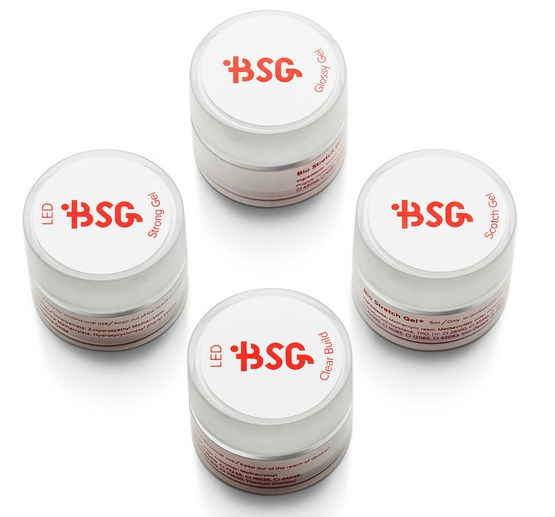
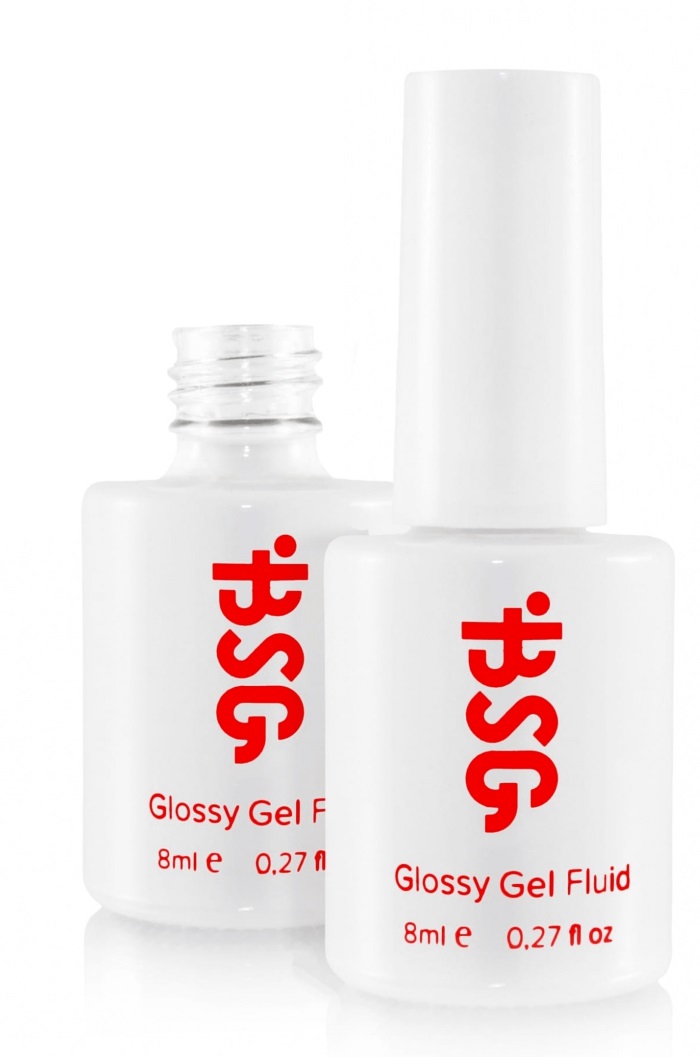
Biogel "BSG" ("Bio Sculpture Gel")
Protects the nail from yellowness when wearing colored pigments. Has a thin brush and a light delicate purple tint.
Maintains the natural flexibility of the nail by retaining the moisture of the natural nail.
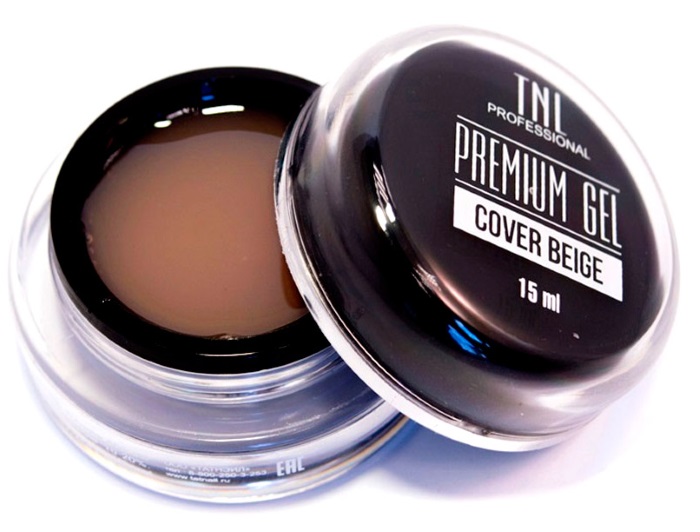
Biogel "TNL" ("TNL")
A very durable coating that is ready to transfer any household chores.
You need to know that this company has a transparent biogel for nails - this is a tool that, when extended, does not give out a natural nail, and the correction may be postponed for another week.
"Bio Stretch Gel"
The manufacturer promises to wear the gel for a period of three weeks. But practice shows that the term is a little shorter.
It is a budget tool and is suitable for beginners.
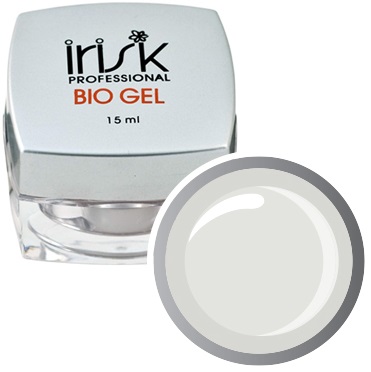
Biogel "Irisk" ("Irisk")
Many people praise this company. And for good reason. It will perfectly replace the entire line of expensive extension manicure gels. Differs in durability, willingness to cooperate with absolutely any brands of varnishes... Nails with such biogel look natural and well-groomed.
The best product in terms of price-quality ratio. Since it is distinguished by economical use, ease of use and cooperation with all brands of varnishes. Wearing can last more than 3 weeks without chipping.
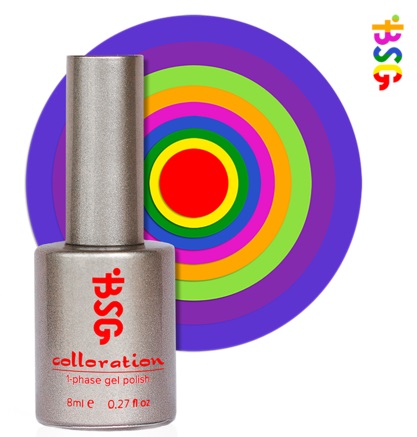
Coloration single-phase biogel
Price - 600 rubles. There are no minuses, as well as special pluses.
A fairly common product with a good wear period of 2 weeks and an even coating. The brush is comfortable, but a better quality product can be found for the price.
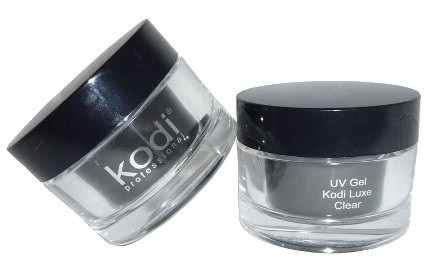
Biogel "Cody"
There are legends about the Cody firm. She is either praised or hated. The price is quite high. But the quality justifies it.
Suitable for thin and brittle nails. It copes well with strengthening and has a long service life.
Biogel "Zo"
It has a pleasant structure.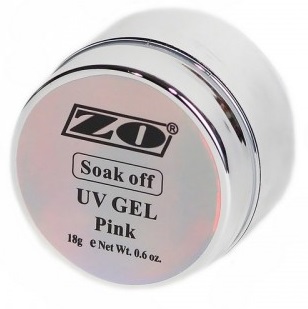
It is very flexible and soft to use. Can work with extended nails or natural, harmless to them.
Strengthening nails with biogel under gel polish: step by step instructions. Gel polish application technology. Before and after photos
You can strengthen the nail like this:
- Having prepared and processed the nail, it is necessary to degrease it and apply a primer.
- After applying the base, dry the nail for 60 seconds.
- After that, biogel is applied in one thin layer, sealing the end and side rollers. Dries within a minute.
- Now you can apply the gel polish itself. For beginners, more liquid are suitable. For masters - dense, they can be applied in one layer. You should start applying varnish from the root, gradually moving to the side rollers and the end, sealing them. Dry in a lamp for 1 minute.

 Don't miss the most popular column article: How to build up your nails with gel polish. Instructions for nail extension for beginners. A photo.
Biogel, gel polish or shellac - which is better than the difference
Biogel for nails differs in that it has a natural composition, but because of this, it is short-lived in such a sock.
Gel polish is great for creating designs on healthy and high-quality nails. When using a quality base, it does not harm the nail.
Shellac is one of the most expensive gel polish companies. She became famous for its high quality and long wear.
How to remove biogel from nails at home. Removal liquid - instructions for use
When removing biogel, the nail does not need to be filed. To completely remove the biogel, it is enough to apply a special liquid on a cotton pad, wrap it around the nail and leave it under foil for 10 minutes.
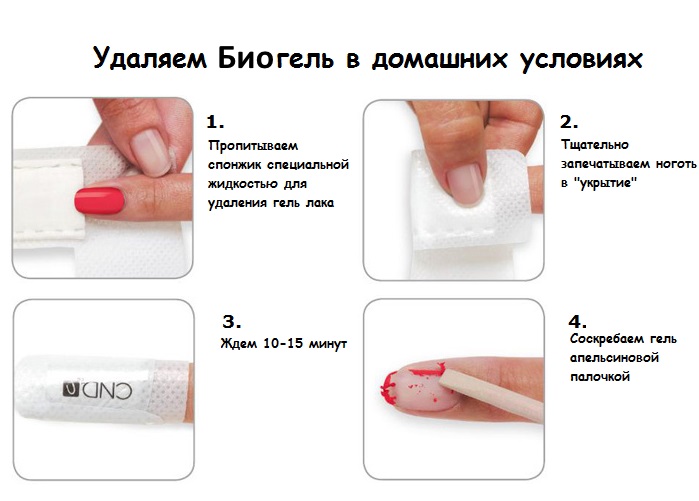
Biogel will completely dissolve and will not cause any trouble. The procedure is no different from removing gel polish. But it does not require sawdust, which is very convenient and saves time.
Allergy to biogel for nails - what to do
Allergies can occur in several cases:
- With individual intolerance to the components. In this case, you need to find out what kind of remedy you are allergic to and temporarily get away from it.
- In the case of an expired product. Then you need to restore your nails and purchase a fresh product.
- With the wrong manicure.Sometimes manicurists, doing too deep a manicure, harm the nail at the root, which can cause a negative reaction to any remedy.
- In the presence of wounds and open cuts next to the nail, there may also be negative reactions to individual components.
Biogel for nails - what is it - now such a question will not arise, having weighed all the pros and cons, one can be convinced of the need to purchase such a product.
Video clips: biogel for nails
What is biogel for nails. What is the difference from gel polish is described in this hour-long video:
Strengthening nails with biogel:

I use biogel Zo has never disappointed. Very smooth and easy to apply, suitable for beginners or those who want to do it themselves.